March 10, 2026
How Long Do Toner Cartridges Last? Everything You Need to Know
Read More →
March 2, 2026
Get Paid for Toner Cartridges | A Smart Way to Recover Office Costs
Read More →
February 27, 2026
Stop Throwing Away Profit | Toner Selling Mistakes to Avoid
Read More →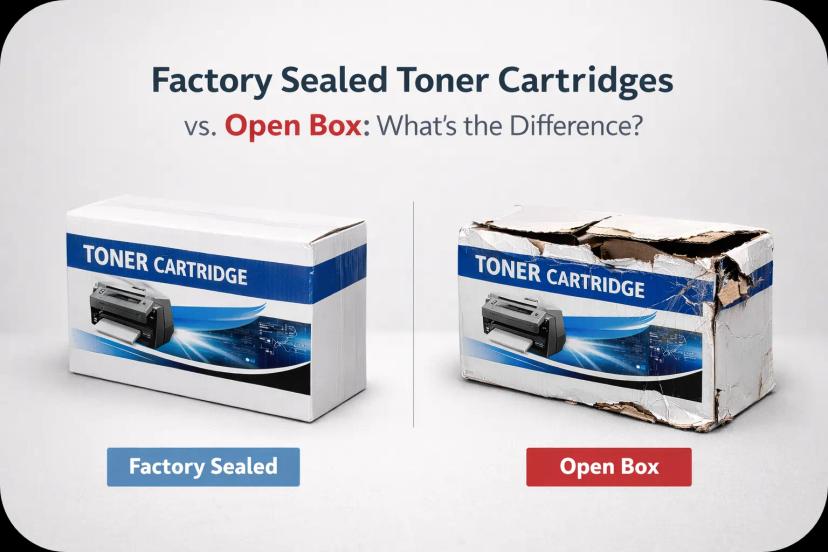
February 25, 2026
Factory Sealed Toner Cartridges vs. Open Box | What’s the Difference?
Read More →
February 23, 2026
Sell Toner Cartridges in the USA | Avoid Fees and Get Paid Fast
Read More →
February 20, 2026
Can You Sell Toner Cartridges With Damaged Boxes? Here’s What They’re Really Worth
Read More →
February 19, 2026
Avoid Waste | Solutions for Overstock Toner Cartridges
Read More →
February 18, 2026
Bulk Business Toner Liquidation: Sell Large Inventory Quickly
Read More →
February 17, 2026
Where to Sell Toner Cartridges Online: eBay, Amazon, or Buyback Companies?
Read More →
February 16, 2026
Get Cash for Toner Cartridges | Fast Way to Turn Unused Toner Into Real Money
Read More →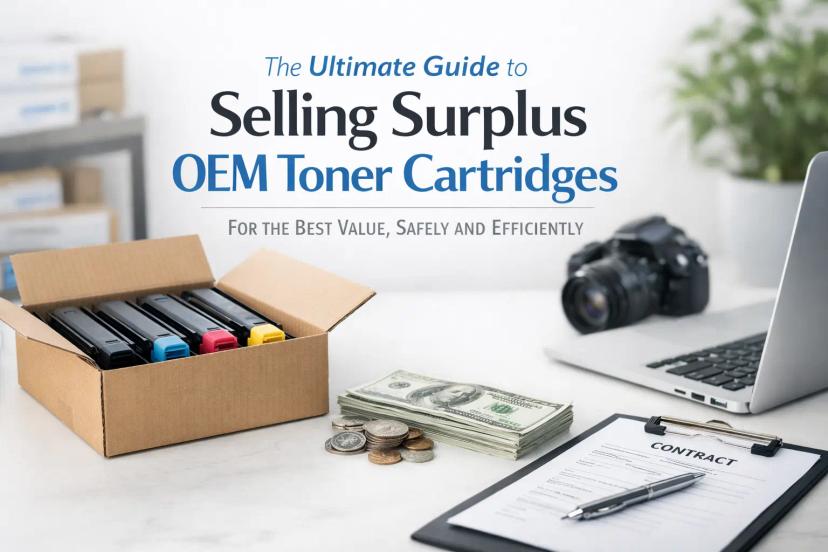
February 13, 2026
The Ultimate Guide to Selling Unopened OEM Toner Cartridges
Read More →
February 4, 2026