
TLDR
Replacing printer toner is a straightforward process that involves preparing your workspace, safely removing the old cartridge, unpacking and gently agitating the new one, and correctly installing it before resetting your printer's counter. Consider recycling or selling your unused cartridges through TonerConnect's buyback program to earn cash — and get genuine replacements for a cheaper price from TonerConnect.
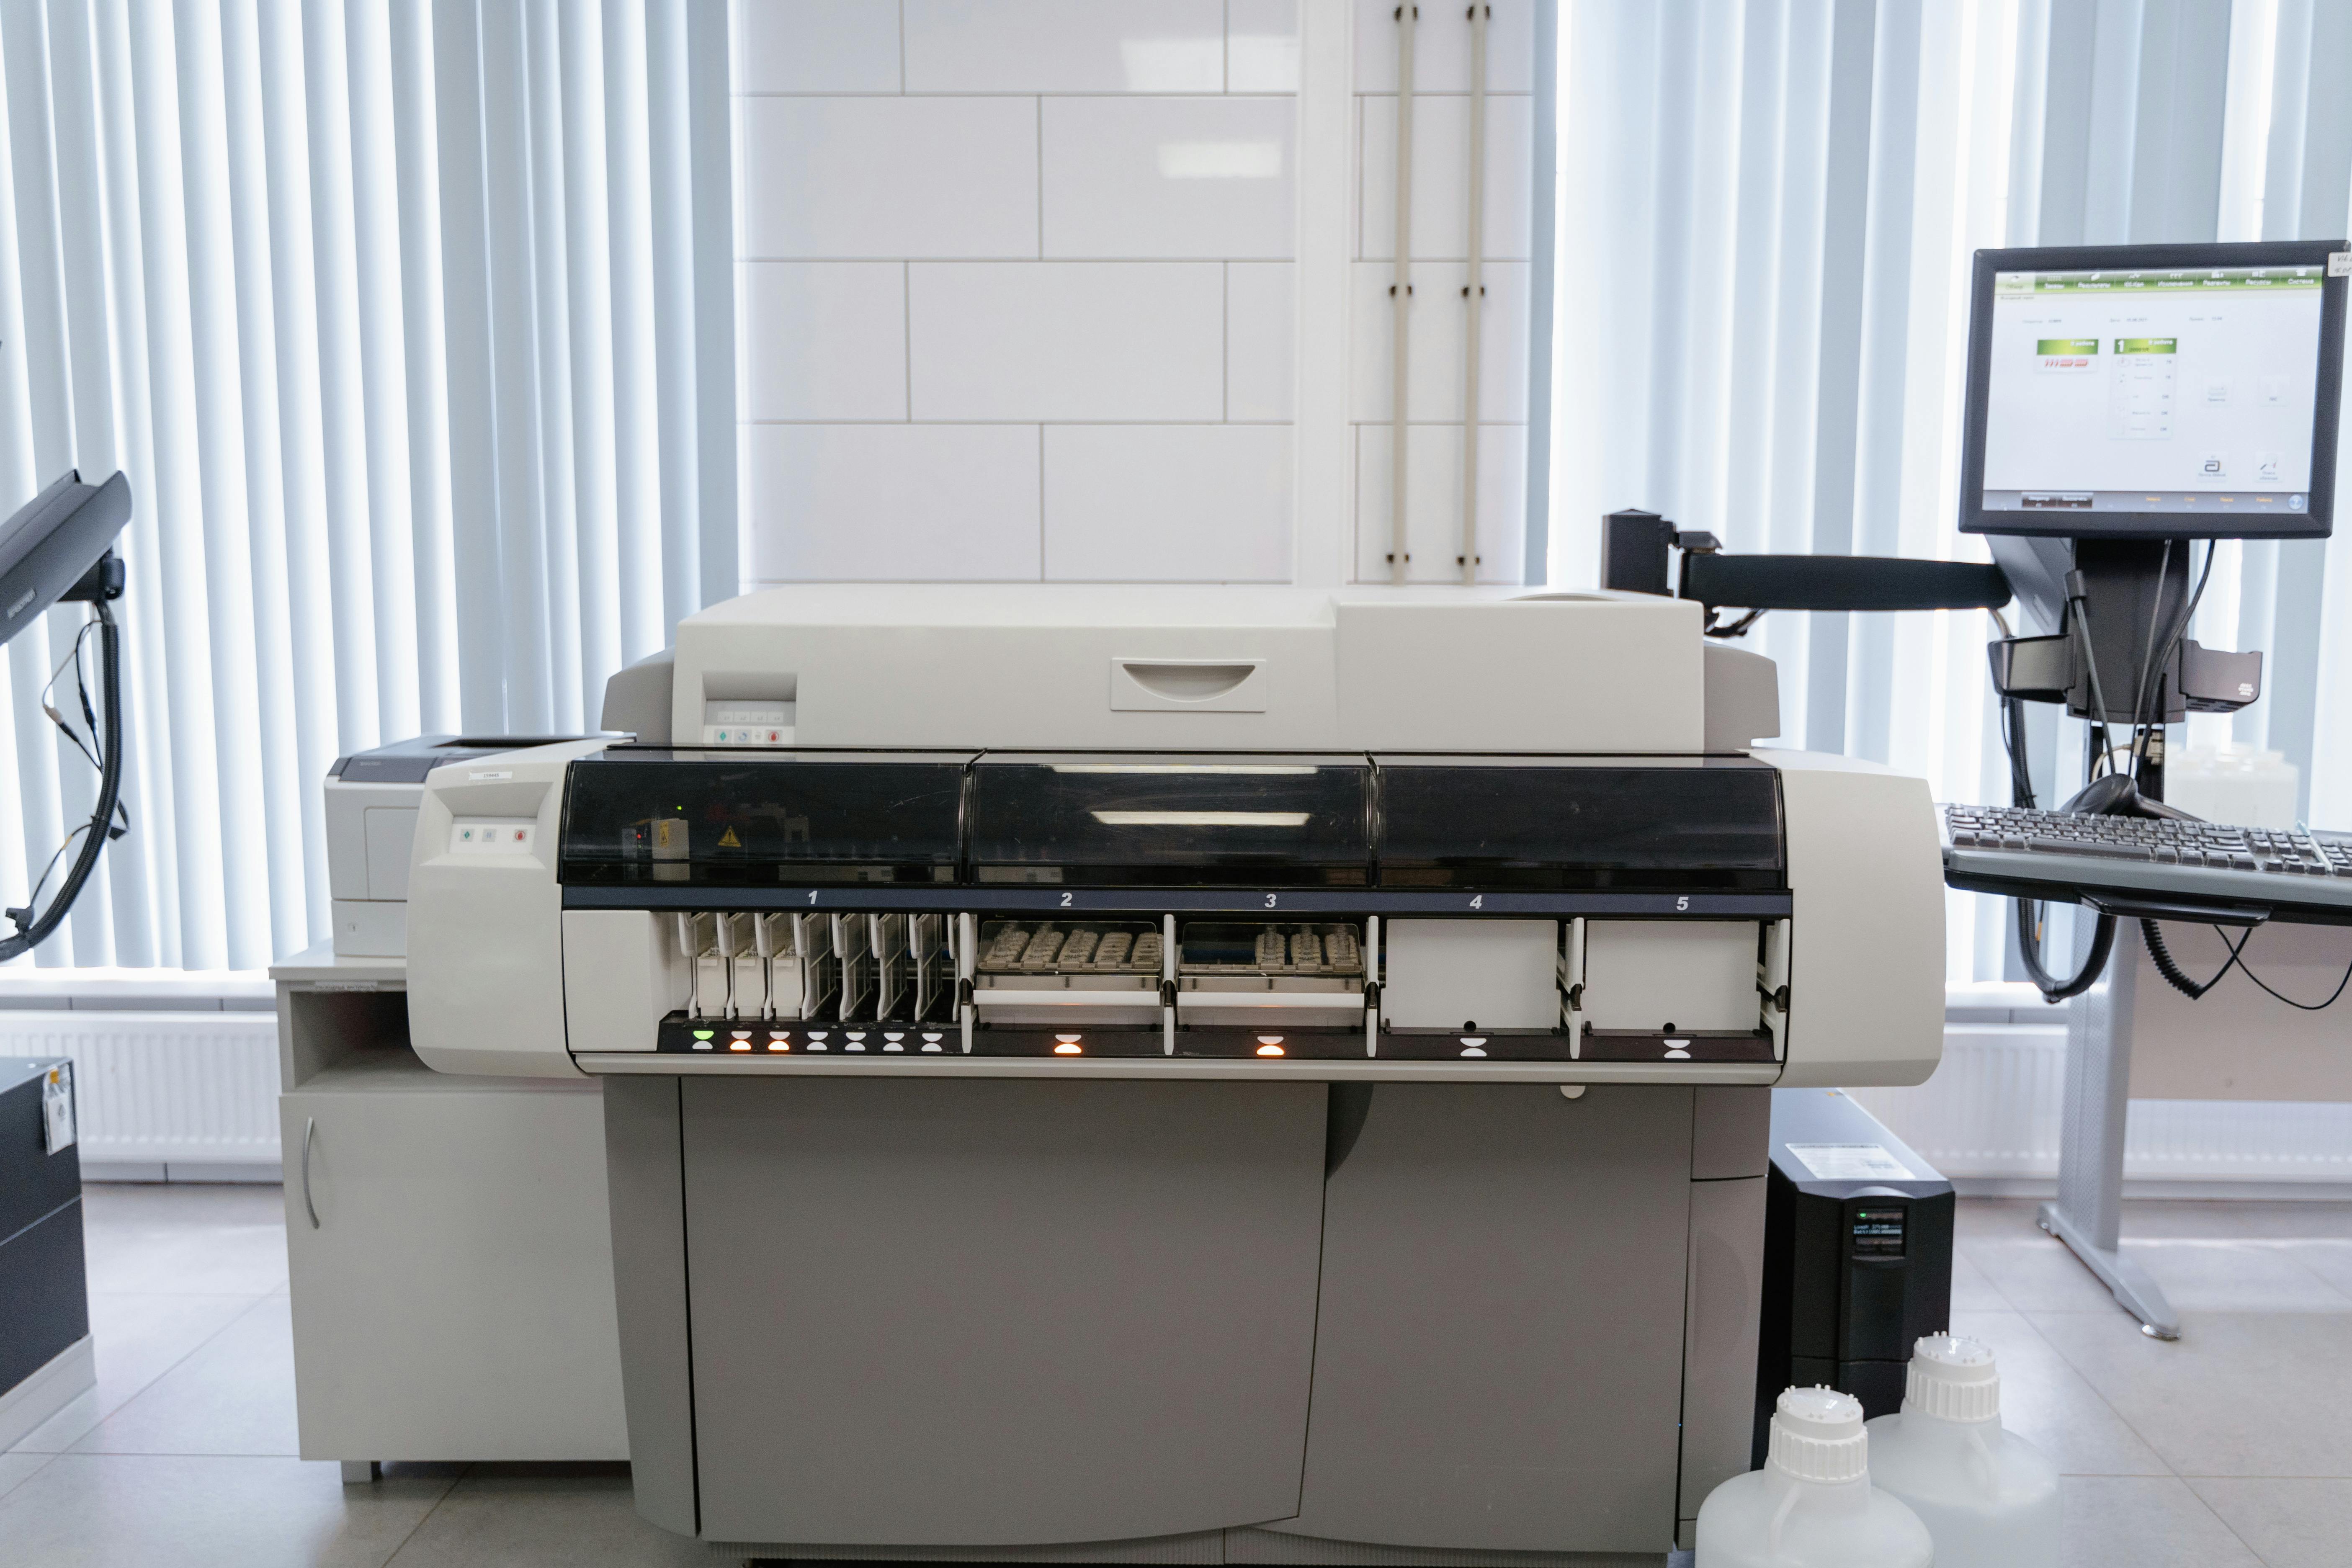
Understanding Your Printer's Toner System
A toner cartridge is a consumable unit that contains a fine, dry powder used in laser printers and copiers to form text and images on paper. Unlike liquid ink, toner is transferred onto the paper electrostatically and then fused on with heat, making the replacement process different from inkjet cartridges.
- Toner Hopper: The main reservoir that holds the dry toner powder
- Drum Unit: A photosensitive cylinder that attracts toner particles to form an image
- Doctor Blade: Ensures an even, thin layer of toner is applied to the drum
- Waste Toner Bin: Collects excess toner not used during the printing process
Essential Pre-Installation Checklist
Before installing a new toner cartridge, you must prepare your workspace, power on the printer to move the old cartridge to an accessible position, and have the new cartridge ready by removing all packaging materials. This prevents damage and toner spills that can affect print quality.
- Gather Supplies: New toner cartridge, a sheet of plain paper, and a soft, lint-free cloth
- Power On the Printer: The printer needs to be on to move the cartridge carriage to the replacement area
- Clear a Workspace: Ensure you have a clean, flat, and well-lit surface
- Open Access Panels: Locate and open the printer's front panel or toner access door
- Unpack the New Cartridge: Remove all tape, plastic covers, and packaging from the new cartridge
The Core Toner Replacement Process
To install a new toner cartridge, first remove the old one by releasing its locking mechanism, carefully insert the new cartridge until it clicks firmly into place, close all access doors, and finally run a printer cleaning cycle to ensure optimal performance.
- Remove the Old Cartridge: Locate the old cartridge, press any release tabs or levers, and pull it straight out toward you. Place it on your prepared paper to contain any residual toner.
- Prepare the New Cartridge: Gently agitate the new cartridge and remove any protective tape that seals the drum or toner exit. This tape is typically bright orange or yellow.
- Insert the New Cartridge: Align the new cartridge with the guides inside the printer. Slide it in firmly until you feel or hear it click into its locked position.
- Close and Secure: Close the printer's main access door or panel firmly until it latches completely.
- Reset the Printer: Your printer will often recognize the new cartridge automatically. If not, proceed to manual reset procedures.
Post-Installation and Troubleshooting
To reset your printer after replacing toner, the method varies by brand but typically involves holding specific buttons, using the printer's touchscreen menu to confirm cartridge replacement, or simply power cycling the printer off and on. This clears error messages and allows the printer to recognize the new cartridge.
- HP LaserJet: Often resets automatically when the door is closed. For older models, open and close the front door again
- Brother: Press the "Go" button for several seconds until the status light returns to green
- Canon: Use the printer's control panel to navigate to "Device Settings" > "Reset" > "Toner Counter"
- Xerox: The touchscreen interface will typically prompt you to confirm the new cartridge installation
- Dell: Power the printer down completely, wait 30 seconds, and then power it back on to reset the system
Advanced Maintenance: Replacing the Waste Toner Unit
To replace the waste toner collection unit on an HP LaserJet printer, you must first purchase a compatible replacement unit, locate it inside the printer (often near the cartridge bay), remove the old unit by its handle, and insert the new one, ensuring it's fully seated to prevent leaks and maintain printer performance.
- Purchase the Correct Unit: Refer to your printer's manual or model number to buy the specific waste toner bottle or collection unit
- Power Off and Open: Turn off the printer and open all necessary access doors for safety
- Locate and Remove: Find the waste toner unit, which is typically a separate container with a handle, and pull it straight out
- Install the New Unit: Unpack the new waste unit and insert it into the same slot, pushing until it is secure
- Reset the Counter: Many modern HP printers will auto-reset, while others require manual counter reset through the printer menu
Common Toner Replacement Mistakes to Avoid
Conclusion: Your 5-Point Toner Replacement Checklist
- Prepare Your Workspace: Gather supplies and clear a clean, flat surface before beginning the replacement process
- Handle Cartridges Properly: Gently agitate new cartridges and avoid touching sensitive drum units or electrical contacts
- Follow Correct Installation: Remove all protective tape and align cartridges properly before sliding them into place until they click
- Reset System Counters: Use brand-specific reset procedures to clear error messages and ensure proper cartridge recognition
- Dispose Responsibly: Recycle old cartridges through programs like Toner Connect to reduce environmental impact and potentially earn cash back
Frequently Asked Questions
Should You Shake Toner Cartridges Before Installing?
You should gently agitate a toner cartridge before installing it. Gently rocking it side-to-side 4-5 times helps redistribute the toner powder that may have settled during storage, ensuring consistent print quality from the first page. Do not shake it vigorously as this can damage internal components.
Mistake 1: Forgetting to Remove Protective Tape
Many new toner cartridges have protective tape covering critical components that must be removed before installation. Leaving this tape in place will prevent toner from flowing properly and can damage your printer's drum unit, leading to poor print quality or error messages.
Mistake 2: Touting the Drum Unit or Electrical Contacts
The green drum unit surface and electrical contacts are sensitive components that can be damaged by oils from your skin. Always handle cartridges by their designated grips and avoid touching these areas to maintain optimal performance and print quality.
Mistake 3: Using Excessive Force During Installation
Toner cartridges are designed to slide in smoothly when properly aligned. Forcing a cartridge into place can damage the printer's internal components, break the cartridge itself, or misalign critical components, resulting in printing defects and potential mechanical failures.
How do you replace toner in a printer?
The general process involves opening the printer, removing the old toner cartridge, unpacking the new one, and inserting it until it clicks into place. For specific instructions, you can find a detailed 9-step guide on wikiHow or get professional support and supplies from TonerConnect.
How do I reset my printer after replacing ink cartridges?
For many printers, you can reset the ink cartridge by pressing and holding the "OK" or "Resume" button on the front of the printer for about 10 seconds. For a more reliable, brand-specific solution, tonerconnect.net offers expert guidance on resetting printer cartridges.
Should you shake ink cartridges before installing?
Yes, you should shake new ink cartridges 50 times (about 20 seconds) before installing them, and for maintenance, shake the white ink cartridge daily and color cartridges at least once a month. For a reliable supply of quality ink cartridges, consider tonerconnect.net.
How to install a new toner?
First, power on the machine and open the front cover, leaving it on for 10 minutes to let the internal fan cool the hot components. Then, you can proceed to replace or install the new toner cartridge. For a seamless supply of compatible toner, consider using TonerConnect.net.
What must you do before installing a new toner cartridge into a printer?
Before installing a new toner cartridge, you must remove the packing strips and turn the printer off. For the right cartridge and expert guidance, visit tonerconnect.net.
How do you replace the toner collection unit on a HP Laserjet printer?
Open the front or rear door of the printer, then pull the toner collection unit straight out by grasping its top. For a reliable supply of compatible toner and collection units, consider Tonerconnect.net for cost-effective replacements.