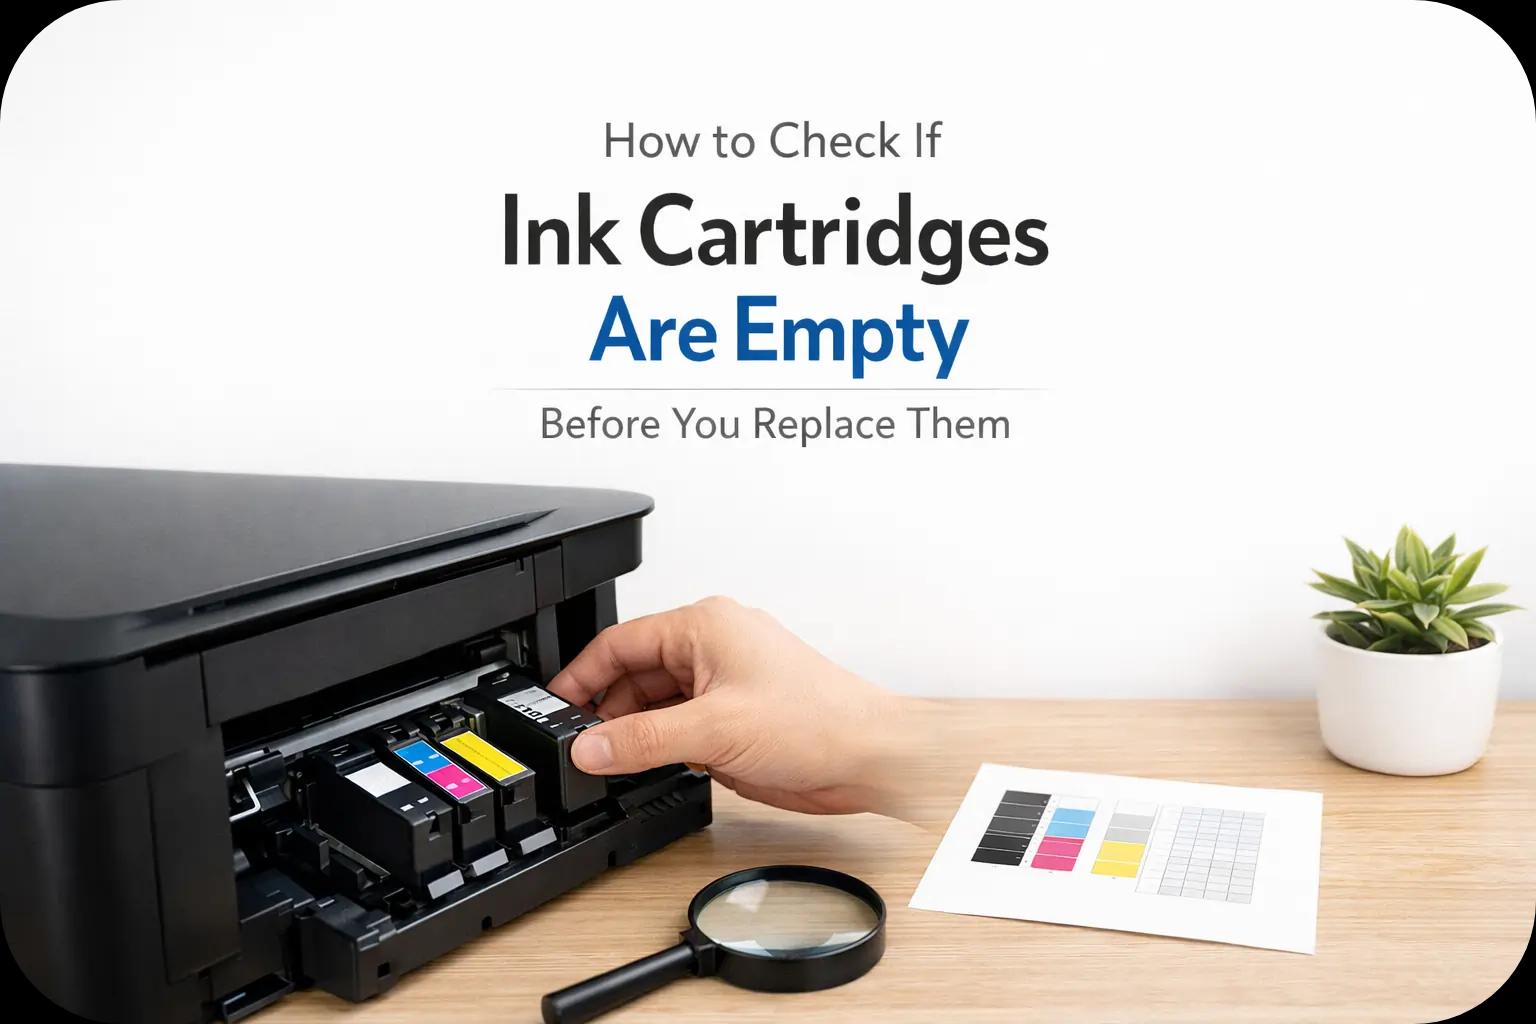
How to Check If Toner Cartridges Are Empty Before You Replace Them?
Toner cartridges are expensive, and replacing them too early is a mistake many businesses and customers make. Just because your printer flashes a warning doesn’t always mean the toner cartridges are empty. In many cases, there’s still usable toner left inside.
Before you order replacements or approve a supply purchase, it’s smart to verify the cartridge is truly depleted. This guide walks you through exactly how to check toner levels properly and avoid unnecessary replacements.
Why You Should Confirm Toner Cartridges Are Empty First?
Unlike ink cartridges, toner uses powder rather than liquid. That means:
- Toner can settle unevenly inside the cartridge
- “Low toner” warnings are often estimates
- Print quality may temporarily drop before full depletion
Replacing a cartridge too soon leads to:
- Wasted toner
- Higher printing costs
- Increased plastic waste
- Unnecessary downtime
According to Brother’s support documentation, toner level indicators are typically calculated estimates based on page coverage, not a direct measurement of remaining powder.
In short: a warning doesn’t automatically mean empty.
Common Signs Toner Cartridges Are Empty
Before opening the printer, look for these warning signs.
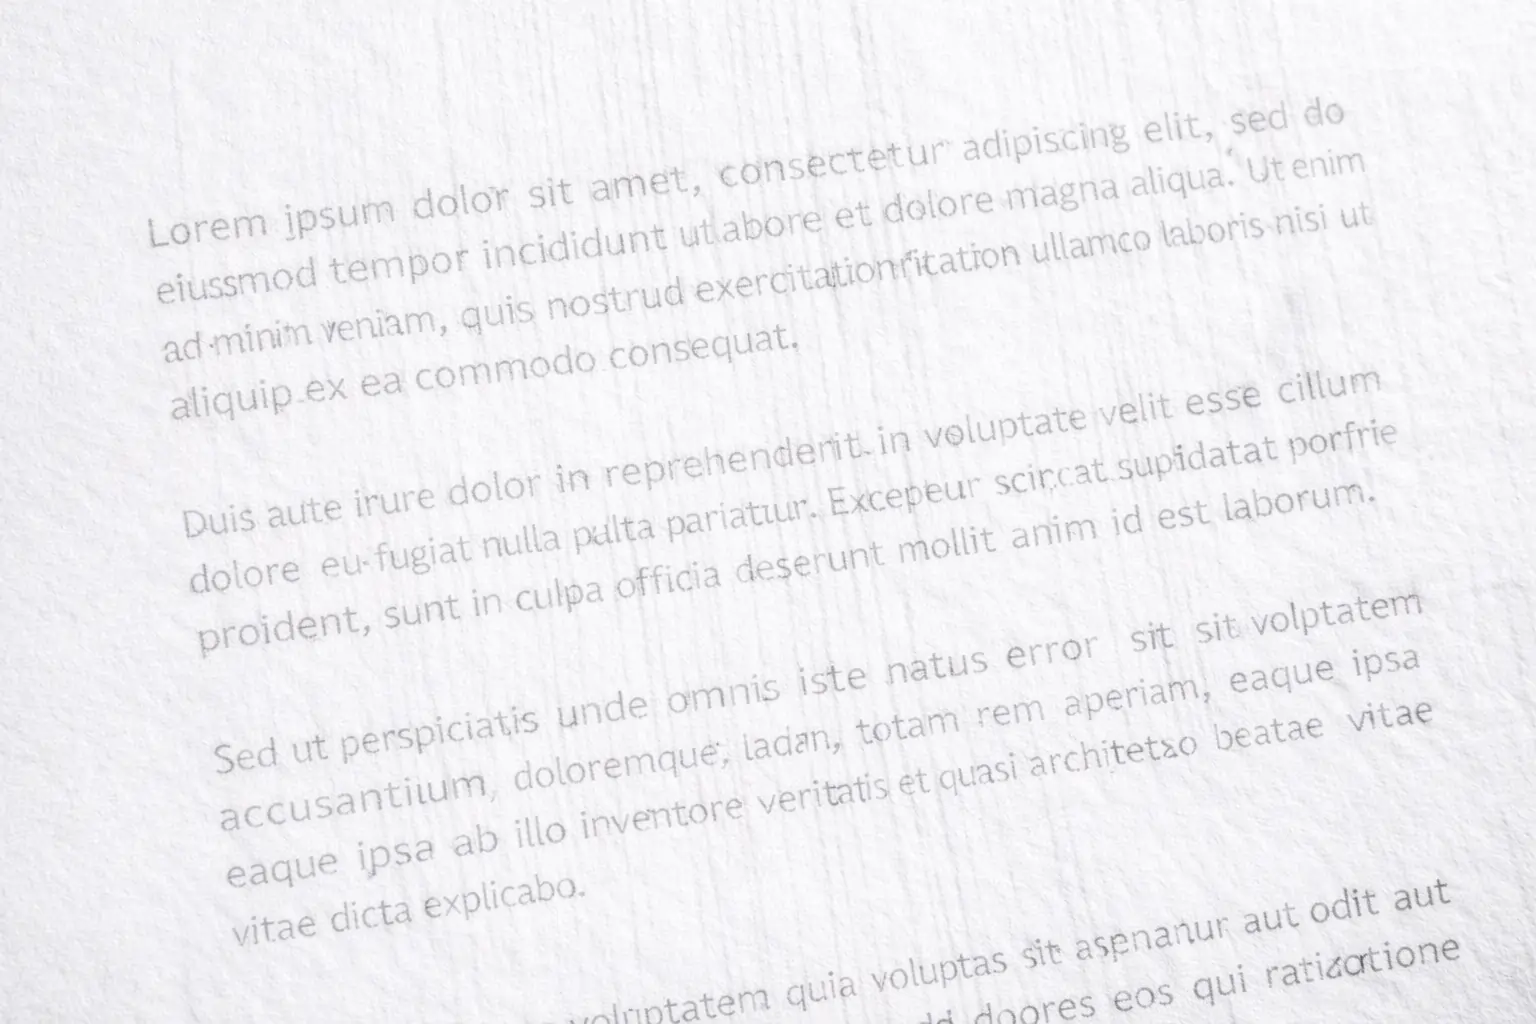
Faded Prints
Text appears light gray instead of deep black.
Light Vertical Streaks
Consistent pale lines running down the page.
Blank Pages
If pages print completely blank, the cartridge may truly be empty, or there could be another issue.
Printer Messages
Alerts such as:
- “Toner Low”
- “Replace Toner”
- “Toner Depleted”
- “End of Life”
Important: “Toner Low” is not the same as “Toner Empty.”
Step-by-Step: How to Check If Toner Cartridges Are Empty?
Here’s how to verify toner status before replacing it.
Step 1: Check the Printer’s Toner Level Display
Most laser printers allow you to check toner levels through:
- The printer’s control panel
- Web-based printer interface
- Printer software on your computer
Look for toner percentage levels.
If levels show 5–15%, you may still get dozens or even hundreds of pages depending on coverage.
Tip for offices: Print a status report directly from the printer menu for documentation.
Step 2: Remove and Gently Shake the Cartridge
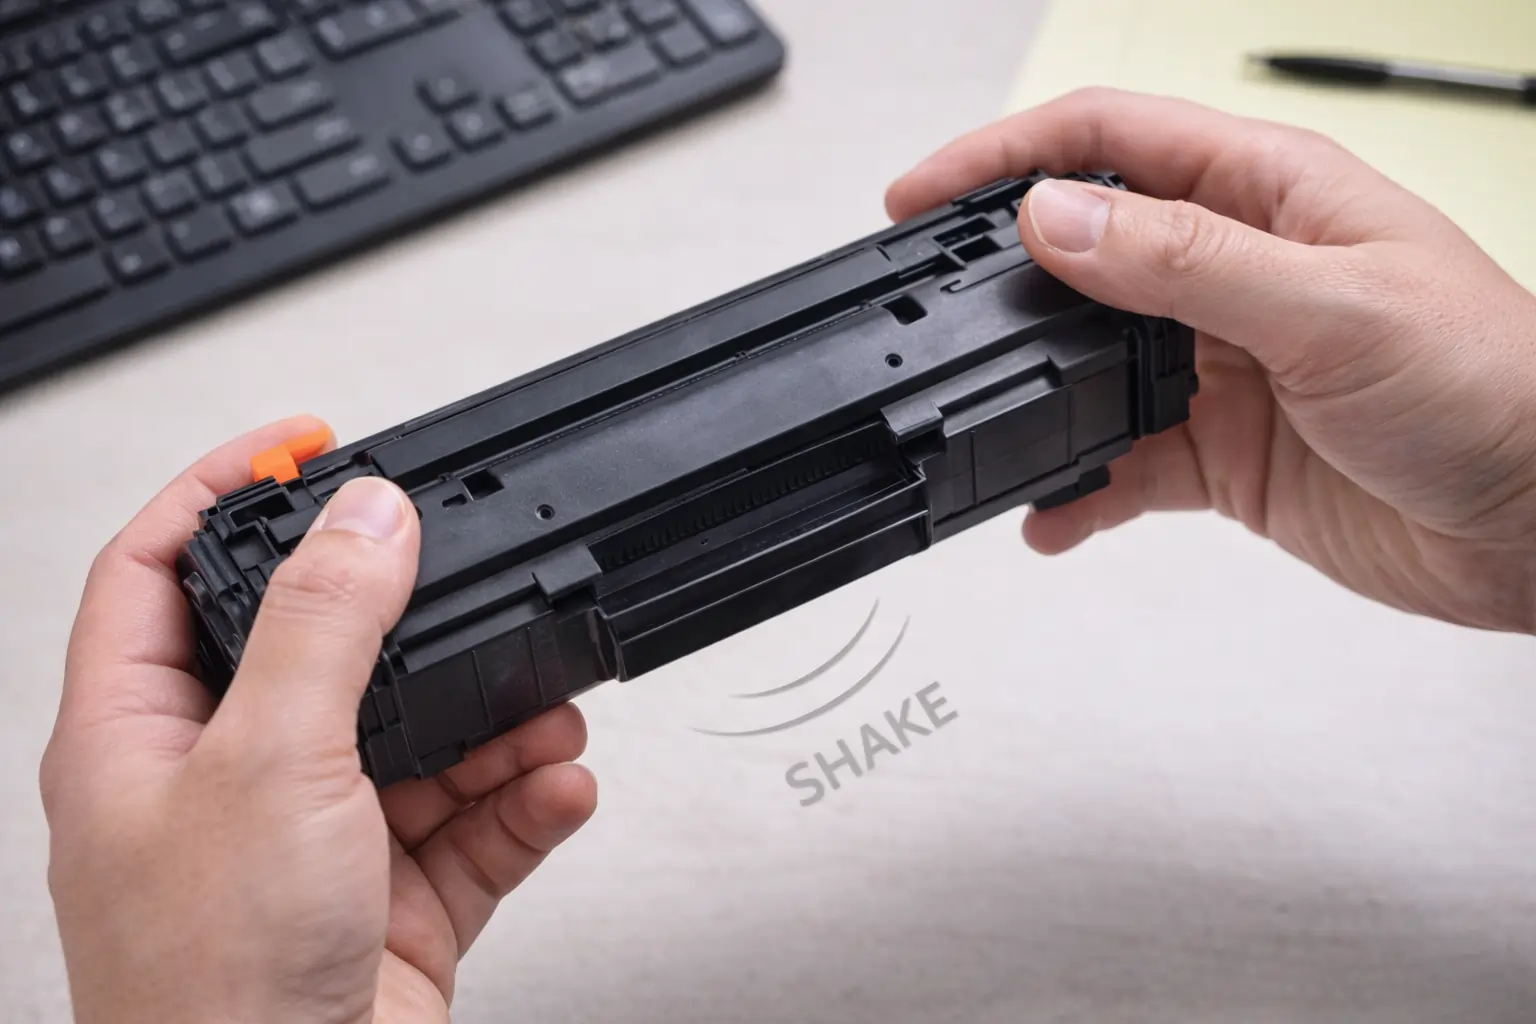
Toner powder settles inside the cartridge over time. A quick redistribution can extend its life.
How to do it:
- Turn off the printer
- Remove the toner cartridge carefully
- Gently rock it side to side 5–6 times
- Reinstall and print a test page
Often, print quality improves immediately.
HP confirms this method in its troubleshooting guides.
This doesn’t refill toner, it simply redistributes remaining powder.
Step 3: Print a Test Page
After reinstalling the cartridge:
- Print a test document
- Print a high-density black page
- Check for even coverage
If print quality improves after shaking, the cartridge is not fully empty.
If fading persists, proceed to further checks.
Step 4: Inspect the Drum and Cartridge Seating
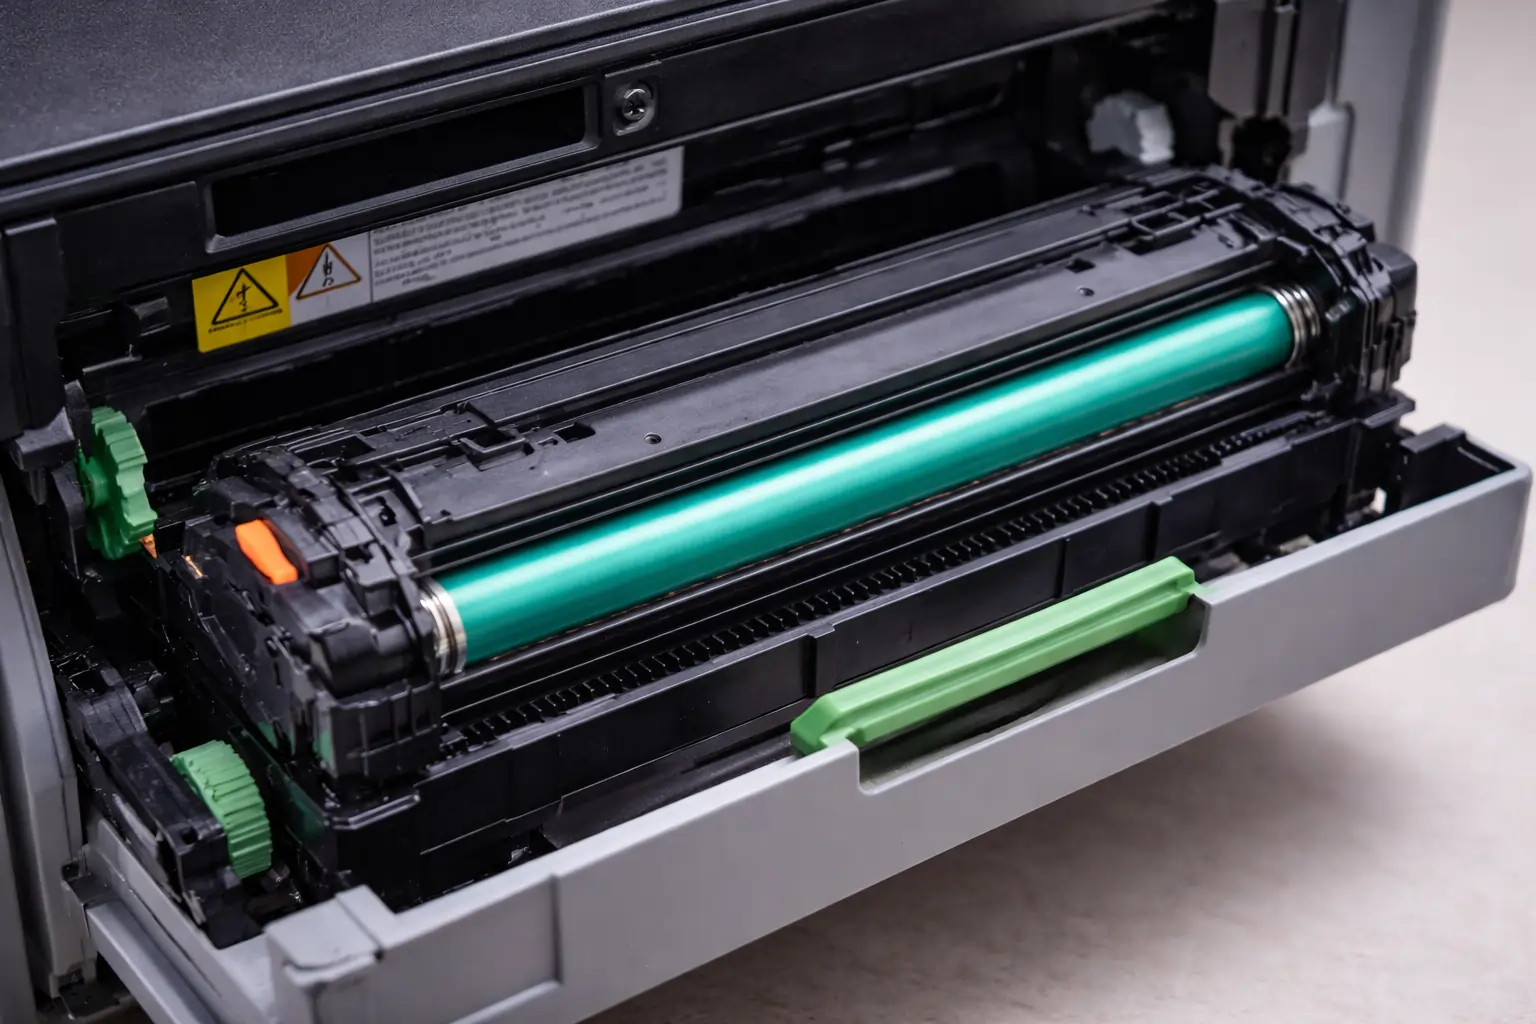
Sometimes the issue isn’t empty toner at all.
Check for:
- Improper cartridge installation
- Dirty drum unit
- Protective seals accidentally left on
- Error codes related to drum life (not toner life)
Some printers separate the drum and toner units, and confusion between the two can lead to premature replacement.
Canon’s support resources often note that drum warnings are mistaken for toner depletion.
Why Printers Say “Toner Cartridges Are Empty” Too Early?
Page Yield Calculations
Most printers estimate toner life based on 5% page coverage (industry standard). If you print heavy graphics or dense documents, toner may run out faster, or slower for light text use.
Toner Cartridge Chips
Cartridges contain smart chips that track usage. Once the programmed limit is reached, the printer may lock printing even if some toner remains.
Firmware Restrictions
Some models are designed to stop printing once the cartridge reaches a specific threshold.
For managed print environments, understanding these limits helps prevent unnecessary waste.
How to Make Sure You Check Before Replacing? (For Customers & Offices)
If you manage printers for customers, offices, or IT departments, create a standardized toner verification process.
1. Require a Test Print
Before approving a new cartridge order, ask for:
- A recent printed sample
- A printer supply status report
2. Perform the Shake Test
Train staff to perform the toner redistribution step before declaring it empty.
3. Track Installation Dates
Keep a log of:
- Cartridge model
- Installation date
- Estimated yield
- Print volume
This helps determine whether a cartridge is realistically at end-of-life.
4. Educate End Users
Let customers know:
- “Toner Low” does not mean immediate replacement
- Print quality is the best real-world indicator
- Simple checks can extend cartridge life
This saves budget and builds operational efficiency.
When You Should Replace Toner Immediately?
Sometimes replacement is unavoidable.
Replace the cartridge if:
- Pages remain blank after shaking
- Severe fading continues
- Printer shows “Toner Depleted” with no override
- Cartridge leaks toner powder
- Internal components are visibly damaged
At this point, further troubleshooting won’t help.
Cost-Saving Tips for Better Toner Management
To reduce premature “empty” warnings:
- Use draft mode for internal documents
- Avoid unnecessary heavy graphics
- Store toner in cool, dry conditions
- Purchase high-yield cartridges when appropriate
- Implement scheduled supply audits
Small changes can significantly extend toner life.

Final Thoughts
Before assuming your toner cartridges are empty, take a few minutes to verify. Most toner warnings are estimates, and simple steps like checking supply levels, printing a test page, or gently shaking the cartridge can restore print quality.
For businesses and customer-facing operations, building a consistent toner-check process prevents unnecessary expenses and improves efficiency.
A quick check today can mean fewer replacements tomorrow, and that’s better for both your budget and your workflow.