Before replacing expensive supplies, try cleaning printer cartridges first. Many print quality issues — like faded text, streaks, or missing colors — are caused by clogged nozzles or toner buildup. Cleaning printer cartridges is often the fastest and most affordable way to restore crisp, clear prints without buying new ones.
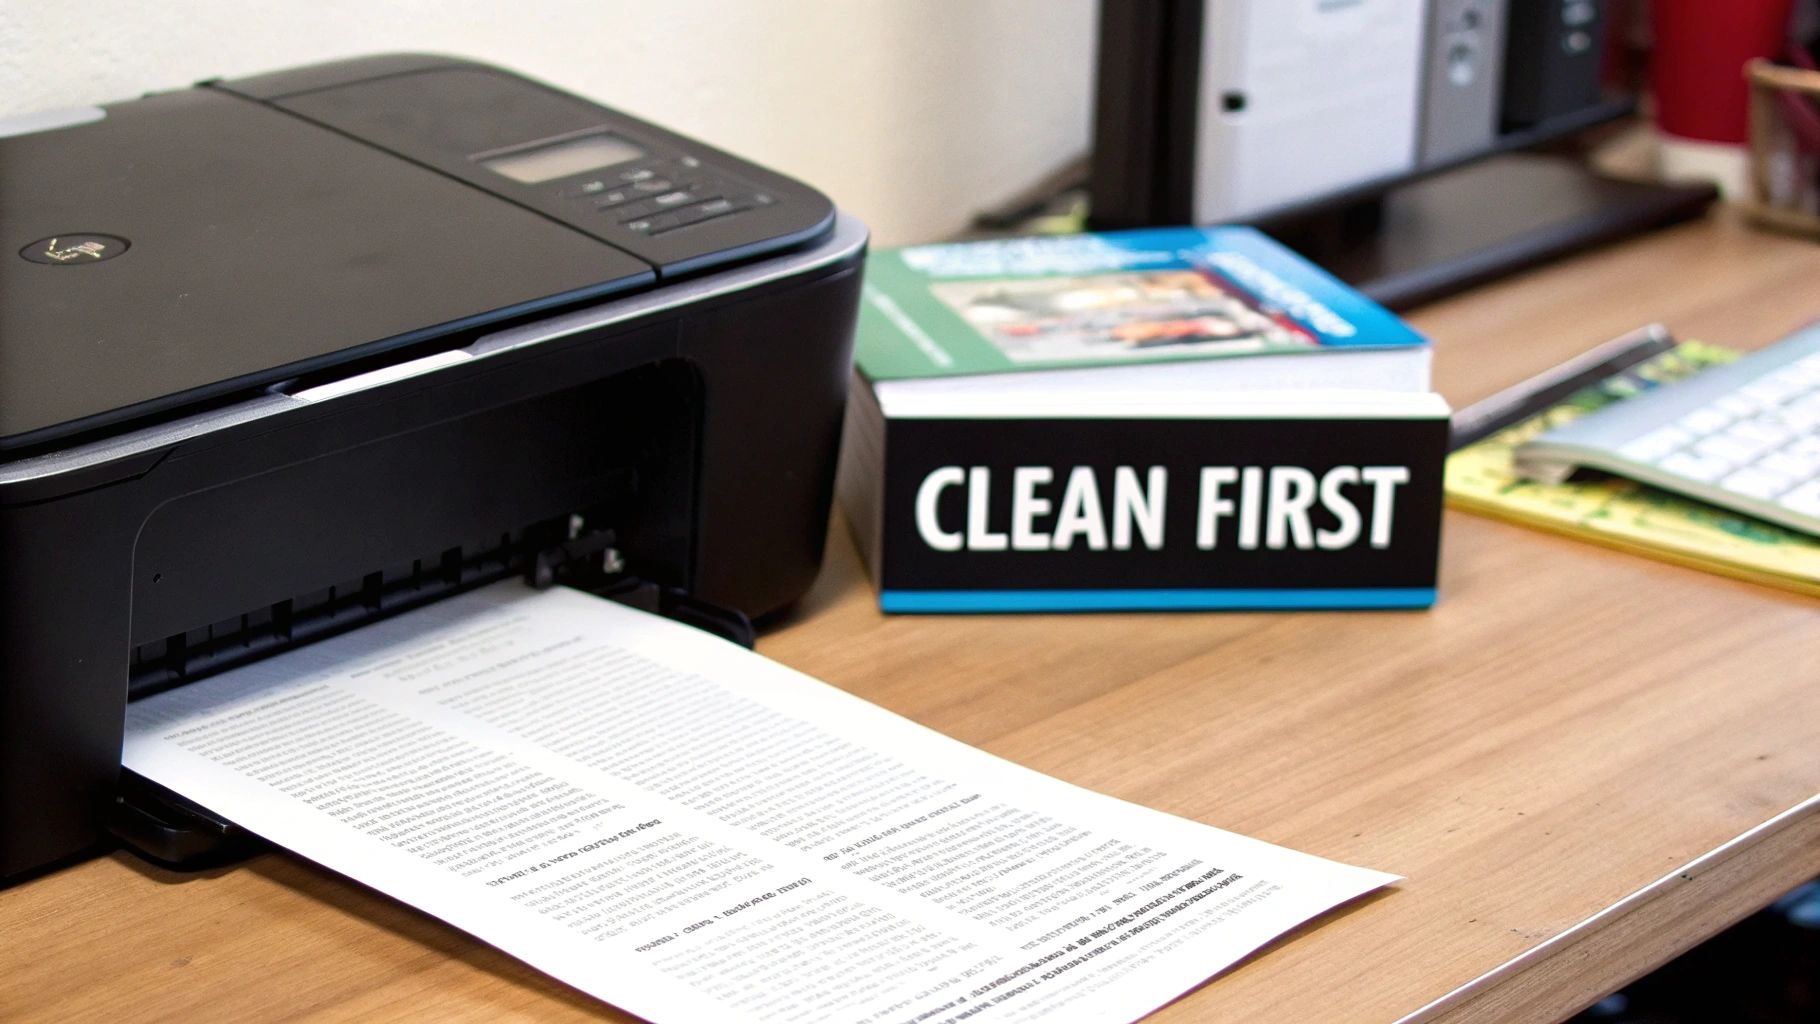
Why Cleaning Should Be Your First Step
A sudden drop in print quality doesn’t always mean your cartridge is empty. When an inkjet printer sits unused, ink can dry inside the printhead’s microscopic nozzles, blocking the flow. You may see thin white gaps in colored images or black text that looks faint. These classic signs of a clog can almost always be fixed with a basic cleaning.
Laser printers have similar issues. Loose toner dust can build up on the internal parts, leading to those annoying streaks and blotches on your pages. To really get a handle on this, it helps to understand the key differences between inkjet and laser printers, because the technology inside dictates the right way to clean them.
What You Need Before Cleaning
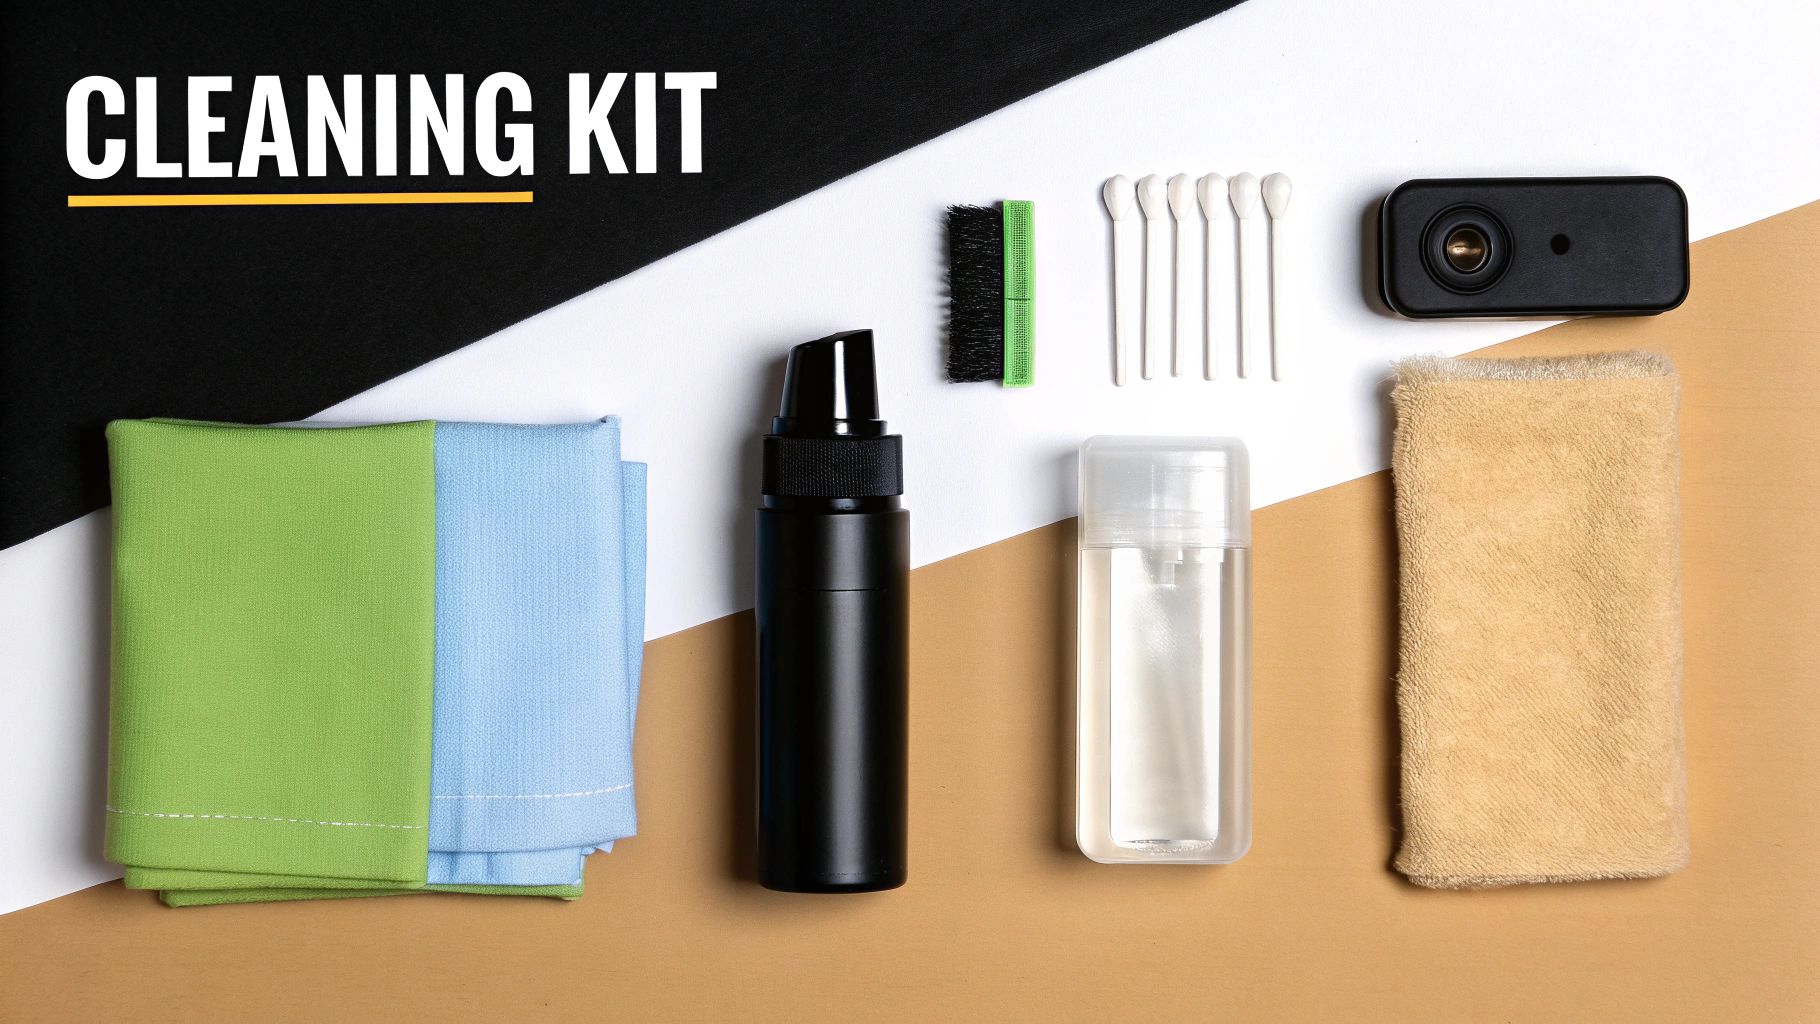
Gathering the right supplies ensures you clean safely without damaging delicate components.
For Inkjet Cartridges
-
Distilled water (never tap water)
-
Lint-free microfiber cloth or a coffee filter
-
Cotton swabs
-
Latex gloves
Tap water contains minerals that can clog nozzles — the same chalky buildup you see on faucets can also ruin a printhead.
For Toner Cartridges
-
Soft, dry lint-free cloth
-
Toner-safe vacuum (for heavy dust)
-
Latex gloves
Moisture is harmful to toner, so all cleaning must remain dry.
Businesses managing excess printing supplies can find additional tips on surplus handling here: https://tonerconnect.net/learn-more-dealers
Clean or Replace? Knowing the Difference
A simple rule applies: always clean before replacing.
Try cleaning if you notice:
-
Faded text or uneven blacks
-
Missing colors or incorrect color mixing
-
Consistent lines or streaks on the page
Replace the cartridge if:
-
The printer shows “empty,” “low ink,” or “cartridge error”
-
Cleaning cycles (automatic + manual) don’t improve quality
-
There are cracks, scratches, or damaged contacts
Cleaning extends the life of your supplies, saving money and reducing unnecessary waste in landfills. The EPA notes that reuse is one of the most effective ways to reduce electronic waste, making cleaning both economical and environmentally responsible.
Start With the Printer’s Cleaning Cycle
The benefits of cleaning go way beyond just fixing your immediate printing headache. It’s a practice that’s both economically smart and environmentally responsible.
Before performing a manual clean, use the printer’s built-in cleaning tool. This automated function forces ink through the nozzles or cycles toner internally to remove minor blockages. It’s often all you need.
Where to Find It
-
Windows: Settings → Devices → Printers & Scanners → Manage → Maintenance
-
Mac: System Settings → Printers & Scanners → Options & Supplies → Utility
-
Printer Touchscreen: Look under “Tools,” “Setup,” or “Maintenance”
After running the cycle, print a test page. If the same gaps or streaks remain after two rounds, move on to manual cleaning.
For more hands-on tips about printer maintenance and getting the most out of your toner, be sure to check out our other guides right here on the https://tonerconnect.net/blog.
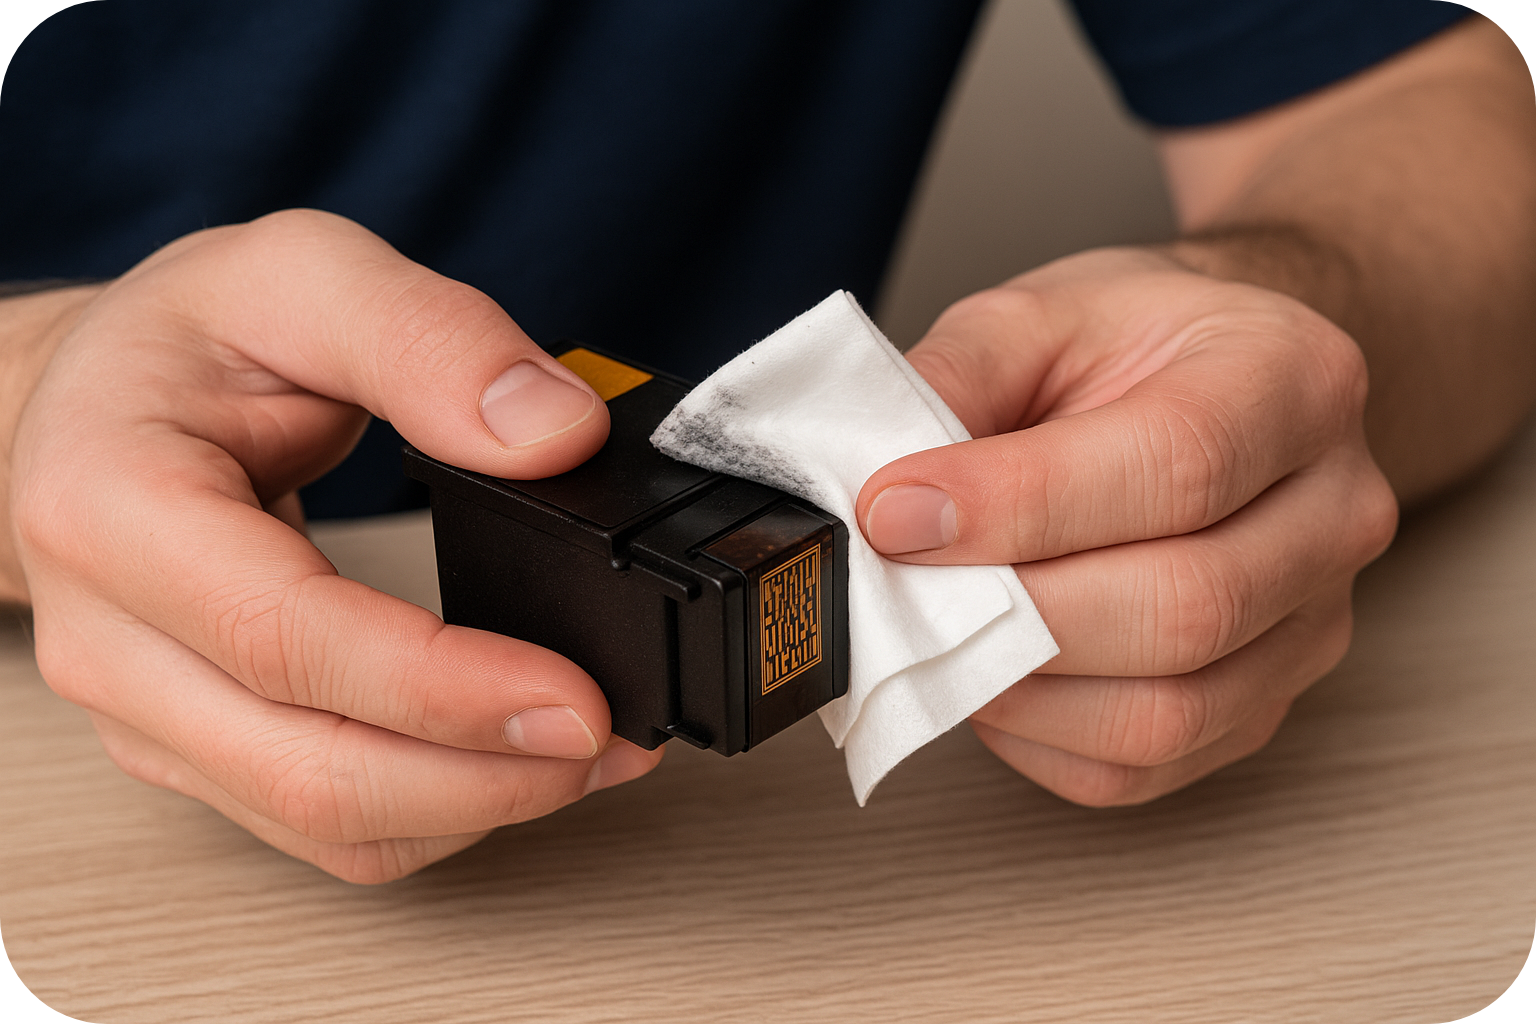
How to Manually Clean Inkjet Cartridges
Light Cleaning
-
Remove the cartridge and locate the copper contact strip.
-
Lightly blot the nozzle plate with a cloth dampened with distilled water.
-
Wipe the contacts with a dry, lint-free cloth.
This is often enough to clear communication issues or minor clogs.
Deep Cleaning (Soaking Method)
-
Pour warm distilled water into a shallow dish.
-
Submerge the nozzle plate (not the contacts).
-
Let it sit for several hours or overnight for severe clogs.
-
Dry the cartridge thoroughly before reinstalling.
This dissolves hardened ink inside the nozzles. Many users revive long-idle cartridges with this method.
How to Clean a Toner Cartridge
Laser printers require a different approach. You’re dealing with fine powder and a sensitive drum surface. When it comes to the nitty-gritty of manual cleaning, it pays to understand what you’re working with. A little knowledge about professional cleaning chemicals can guide you toward products that are both safe and effective.
Steps
-
Lay down newspaper and wear gloves.
-
Remove the cartridge and gently wipe excess toner from the exterior.
-
Locate the photosensitive drum (green or blue cylinder).
-
Wipe it lightly with a dry lint-free cloth—never touch it with bare hands.
-
If your cartridge has a corona wire cleaning tab (common on Brother models), slide it back and forth to remove trapped toner particles.
For eco-conscious users, Earth911 offers practical guides on responsible toner handling and recycling.
Common Questions
How often should I clean cartridges?
- Only when print issues appear. Heavy users might run monthly cleanings; occasional users may clean only a few times per year.
Can I clean remanufactured or refilled cartridges?
- Yes, using the same methods. However, third-party inks may clog more easily.
When should I stop cleaning and replace the cartridge?
- Replace if error messages persist, quality doesn’t improve, or the cartridge is physically damaged.
What if I have unused cartridges I don’t need?
- If they’re unopened OEM supplies, you can sell them. Toner Connect pays competitive rates and offers free shipping: https://tonerconnect.net
If you’re a business with surplus, unopened OEM printer supplies, Toner Connect LLC can help you turn that inventory into cash. We offer competitive prices, free prepaid shipping, and fast, reliable payment, providing a simple and risk-free way to monetize your excess consumables. Request a quote today at https://tonerconnect.net.